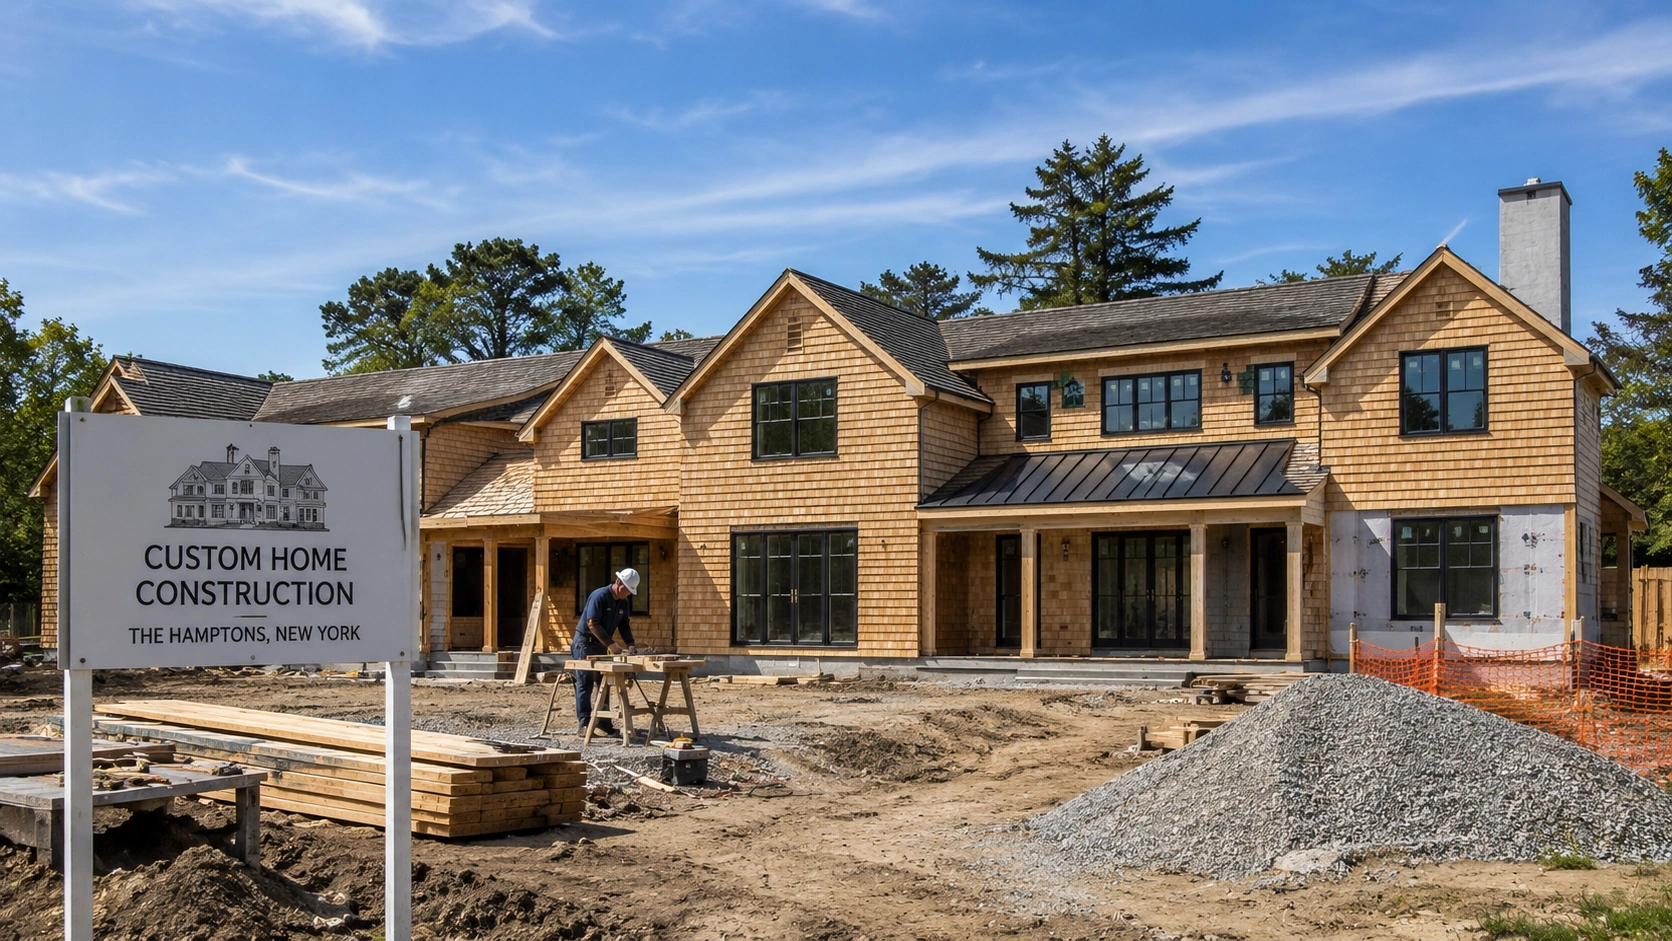
Once a custom home design is finalized and permits are in hand, the build itself begins. For most luxury homes in the Hamptons, that process runs 18 to 24 months from groundbreaking to certificate of occupancy, sometimes longer for larger estates or sites with complex coastal requirements. Knowing what happens at each phase, in what order and why, makes it easier to stay oriented, ask the right questions, and understand what’s actually driving the schedule at any given point.
This guide walks through the construction phases of a custom home build on the East End, from site preparation and foundation through final inspections and move-in, with attention to the details that make Hamptons construction different from a standard residential build.
Pre-Construction and Permitting
Construction doesn’t begin the day a homeowner is ready. Before a single shovel breaks ground, a project in the Hamptons typically requires building permits, health department certifications for sanitary systems, and depending on the site, additional approvals from the Conservation Board, the Zoning Board of Appeals, or the local Architectural Review Board. Waterfront properties and those in FEMA flood zones often carry the heaviest review load.
Permit timelines vary significantly by village. East Hampton and Southampton each maintain their own building departments, and review periods that take a few weeks elsewhere can extend to several months here, especially for new construction on a sensitive site. A builder with existing relationships inside local permitting offices moves through this phase more predictably than one without them.
Pre-construction is also when detailed construction documents are finalized, trade contracts are executed, and the project schedule is set. Long-lead items, particularly custom windows, imported stone, and specialty millwork, need to be ordered here. Waiting until mid-construction to specify these materials is one of the most common causes of finish-phase delays.
Site Work, Foundation, and What the Lot Determines
Once permits clear, the physical build begins with site work: clearing, grading, establishing site access for equipment and materials, and installing erosion controls. Underground utilities and drainage systems go in at this stage and require inspection before concrete is poured.
Foundation type is one of the most consequential decisions in a Hamptons build, and it’s driven largely by the lot. Properties in FEMA flood zones typically require elevated foundations, either poured concrete with the finished floor set above the base flood elevation, or pile foundations where structural columns are driven into the ground and the house sits above grade. Oceanfront and bayfront lots in coastal high-hazard areas (V Zones) almost always require pile construction; properties in A Zones have more flexibility but still need elevation certificates and careful engineering.
Inland lots with stable soil and no flood zone designation give a builder more options: a standard poured concrete foundation with a full basement is common for larger estates in areas like Sagaponack and Water Mill, where high water tables allow. Sandy or variable soil, which is common across much of the East End, sometimes requires soil testing and engineered foundation designs that differ from what the same house might use on a more forgiving lot elsewhere.
Foundation work is slower than it looks. Formwork, pours, cure time, waterproofing, drainage, and required inspections before backfill all take time. Rushing this phase is the kind of shortcut that shows up as problems years later.
Framing: When the Home Starts to Take Shape
Framing is the phase most homeowners find the most visually satisfying. Walls rise, the roofline appears, and for the first time the house looks like a house rather than a concrete perimeter in the ground. It’s also one of the most structurally critical phases, since the accuracy of the frame determines whether doors and windows will operate correctly, whether finishes will align cleanly, and whether the structure will perform as engineered.
On the East End, coastal wind codes require framing to meet hurricane and high-wind standards. This affects the connection hardware between framing members, sheathing specifications, and in some cases the species and grade of lumber. A builder experienced in coastal construction specs these correctly from the start.
A framing walkthrough with the builder is worth doing before the structure is closed in. Room sizes and ceiling heights that looked right on paper sometimes read differently in three dimensions, and this is the moment to verify them while changes are still relatively straightforward. It’s also the right time to confirm rough opening locations for windows and doors, since these are difficult to move once framing is complete and exterior sheathing is applied.
MEP Rough-Ins and the Pre-Drywall Walkthrough
After framing passes inspection, the mechanical trades move in: plumbing, electrical, and HVAC rough-ins run simultaneously, routing pipes, wire, and ductwork through the framed structure before walls close. This phase also includes specialty systems: smart home infrastructure, structured media wiring, radiant heat tubing, security rough-in, and whole-home audio. All of it goes in now, because once drywall is up, accessing these systems means cutting into finished walls.
The pre-drywall walkthrough is one of the most important homeowner visits during the entire build, and it’s the one most people underestimate. This is the last point at which outlet locations, switch placements, speaker rough-ins, and HVAC register positions can be adjusted without significant cost or schedule impact. In a standard house, moving an outlet after drywall is a minor inconvenience. In a luxury home with custom millwork, paneled walls, or integrated cabinetry, the cost and disruption are considerably higher.
For a Hamptons home specifically, a few things are worth verifying at this walkthrough:
- Mechanical zoning: a large estate used seasonally benefits from HVAC zones that can condition individual wings independently rather than heating or cooling the whole house when most of it is unoccupied
- Smart home infrastructure: confirm that conduit runs and equipment locations align with the final technology design, particularly for shading systems, lighting control, and security
- Kitchen and bath rough-ins: verify that plumbing stub-outs and electrical drops align with the finalized fixture and appliance specifications, since cabinetry and tile layout depend on these positions
Municipal rough-in inspections follow this phase. The project cannot close walls until inspectors have signed off on each trade, so the builder’s relationship with local inspection offices matters here as much as it does during permitting.
Finishes, Millwork, and the Long Final Stretch
Insulation and drywall come first after inspections clear, followed by the phase most homeowners think of as “the fun part”: finishes. Flooring, cabinetry, millwork, tile, countertops, fixtures, hardware, paint, exterior cladding, roofing, and landscaping all converge during this stretch. It’s also typically the longest phase of a Hamptons custom build, and the one most likely to run longer than projected.
Custom millwork is almost always on the critical path. Built-in cabinetry, paneled libraries, custom stair and railing systems, and detailed trim packages are fabricated off-site and need to arrive ready to install. Lead times for high-end cabinetry commonly run 16 to 24 weeks, and imported materials, stone from Europe, custom hardware, and specialty fixtures can take longer. These timelines are why finish specifications need to be locked and orders placed well before the finish phase begins, not when it does.
Exterior finishes run parallel to interior work but follow their own sequence: sheathing and weather barrier first, then cladding, roofing, windows, and exterior doors. Landscaping and hardscape typically happen last, often in the weeks immediately before move-in.
This is also when the homeowner’s selections become visible. Paint colors, stone veining, the weight of hardware, the way natural light reads against the floor finish: decisions made months earlier in a showroom now become the house. A builder who has managed this process well will have kept the homeowner informed of lead times so nothing is back-ordered when it’s needed and no substitutions are required at the last moment.
Inspections, Punch List, and Certificate of Occupancy
As construction wraps, the project moves through final inspections by the local building department: structural, mechanical, electrical, plumbing, and energy code compliance. Each must be scheduled, passed, and documented before the certificate of occupancy can be issued. Scheduling these in advance rather than on demand saves time, particularly in villages managing heavy permit volumes.
The punch list is a detailed record of items that need correction or completion before the project is formally handed over: a door that doesn’t latch cleanly, a section of tile grout that needs touching up, a fixture that arrived with a scratch. On a large custom home, a punch list of 50 to 100 items is normal. What matters is that items are documented, assigned, and resolved in a structured way rather than left to informal follow-up.
The certificate of occupancy is issued by the local building department once all required inspections have been passed and the home is confirmed to meet applicable code. In New York, you cannot legally occupy a new home without one. For homeowners working toward a summer move-in, the CO is the finish line, and a builder’s ability to sequence inspections and punch list completion efficiently in the final weeks is what determines whether that deadline holds.
Finding the Right Fit for Your Hamptons Project
Every phase of a custom home build has its own logic, timeline, and decision points. Understanding that sequence, and having a builder who communicates clearly about where the project stands in it, is what makes the difference between a build that feels manageable and one that feels like a series of surprises.
Hamptons Luxury Design + Construction manages new construction projects across Southampton, East Hampton, Sag Harbor, Water Mill, and the surrounding villages, with a process built around transparency at each phase from pre-construction through final walkthrough. If you’re planning a build or evaluating where your project stands, the portfolio is a useful starting point for seeing how these phases come together across different sites and scales.
Frequently Asked Questions
How long does it take to build a custom home in the Hamptons from groundbreaking to move-in?
Most luxury custom homes in the Hamptons take 18 to 24 months from groundbreaking to certificate of occupancy, though larger estates and properties with complex coastal permitting or foundation requirements can run longer. This timeline follows the permits being approved, which can add several months of their own depending on the site, village, and scope of the project. Homeowners aiming for a Memorial Day move-in should typically expect to have permits in hand and construction underway by the prior spring or summer at the latest.
What causes the most delays during Hamptons construction?
The most common delay sources are late material orders, mid-construction design changes, and inspection scheduling. Long-lead items like custom cabinetry, imported stone, and specialty windows need to be specified and ordered months before they’re needed on site. Changes to scope or finishes after construction is underway often trigger cascading delays across trades. Inspection scheduling with local building departments, which are often managing heavy workloads, can also add time if not planned in advance.
What should I review during the pre-drywall walkthrough?
The pre-drywall walkthrough is the last opportunity to adjust outlet and switch locations, HVAC register placement, plumbing stub-out positions, and smart home infrastructure runs before walls are closed. In a luxury home, these decisions have downstream effects on custom millwork, cabinetry layout, and integrated technology systems, so corrections after drywall carry significantly higher cost than adjustments made at this stage. It’s worth walking every room with the builder and a checklist of your finish and technology specifications.
What is a certificate of occupancy and when is it issued?
A certificate of occupancy is a document issued by the local building department confirming that a newly constructed home meets applicable building codes and is safe for occupancy. In New York, a CO is legally required before a home can be inhabited. It is issued after all required final inspections, covering structural, mechanical, electrical, and plumbing systems, have been passed and signed off. In the Hamptons, where each village maintains its own building department, the process and timeline vary by jurisdiction.
How involved should I be as a homeowner during the construction phase?
The right level of involvement depends on how the project is structured. With a design-build firm or a builder offering dedicated project management, homeowners typically receive regular progress updates, photos, and scheduled site visits at key milestones rather than needing to visit the site frequently on their own. The phases that most warrant direct homeowner attention are the framing walkthrough, the pre-drywall walkthrough, and the final punch list review. Outside those, the builder’s job is to manage the day-to-day so the homeowner doesn’t have to.